
Table of Contents
Introduction
Are you looking to add a touch of creativity to your next crafting project? Fabric strips can be a versatile and colorful addition to many DIY projects. Whether you want to make fabric strips for quilting, sewing, or other crafts, this informative guide will walk you through the process step-by-step. In this article, we will explore various techniques and materials to help you create beautiful fabric strips for your next project.
Choosing the Right Fabric
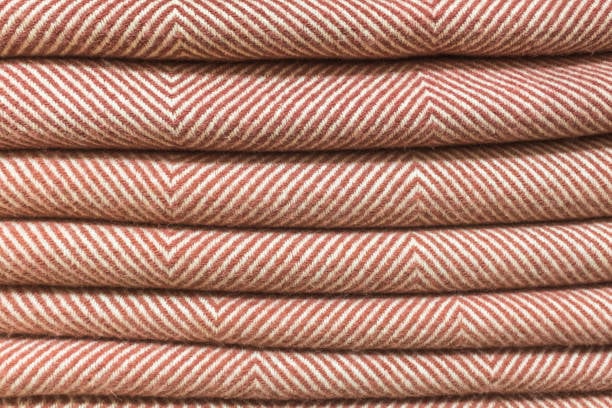
When it comes to making fabric strips, selecting the right type of fabric is crucial. The fabric you choose will determine the final look and feel of your project. Opt for fabrics that are lightweight and easy to work with. Cotton, muslin, and flannel are great choices for fabric strips as they are soft and versatile. Avoid fabrics that are too thick or heavy, as they may be difficult to handle and manipulate.
Preparing the Fabric
Before you can start making fabric strips, it's important to prepare the fabric properly. Start by washing and drying the fabric to remove any dirt or chemicals. This will also help prevent shrinkage later on. Iron the fabric to ensure it is smooth and free of wrinkles. If you're working with a patterned fabric, make sure to align the pattern correctly before cutting.
Measuring and Cutting
One of the most important steps in making fabric strips is measuring and cutting the fabric accurately. Determine the desired width and length of your fabric strips and mark them with a fabric pen or chalk. Use a ruler or measuring tape to ensure precise measurements. To cut the fabric, use fabric scissors or a rotary cutter for clean, straight edges. Take your time and be patient as you cut each strip.
Creating Bias Strips
Bias strips are strips of fabric that are cut diagonally across the grain. They are often used for binding edges or adding decorative touches to projects. To create bias strips, start by folding one corner of the fabric diagonally to form a triangle. Align the edges and press with an iron to create a crease. Using a ruler and fabric pen, mark the desired width of your bias strips along the folded edge. Cut along the marked lines, and voila, you have bias fabric strips!
Using a Fabric Strip Cutter
If you're looking for a quick and efficient way to make fabric strips, consider using a fabric strip cutter. These handy tools allow you to cut multiple fabric strips at once, saving you time and effort. Simply align your fabric, choose the desired width, and run it through the strip cutter. This is a great option for those who need a large quantity of fabric strips or want consistent widths.
Fraying or Sealing the Edges
Depending on the look you want to achieve, you may choose to fray or seal the edges of your fabric strips. Frayed edges give a rustic and textured appearance, while sealed edges provide a clean and polished look. To fray the edges, simply pull out a few threads along the cut edge. If you prefer sealed edges, consider using a fray check or fabric glue to prevent fraying. Test these methods on a small fabric sample to determine which option works best for you.
Storing Fabric Strips
If you're making fabric strips in advance or have leftovers from a project, it's important to store them properly to prevent damage or tangling. Roll the fabric strips neatly and secure them with rubber bands or ribbon. Alternatively, you can store them in clear plastic bags or small containers. Make sure to label each storage method with the fabric type and width for easy identification later on.
Creative Uses for Fabric Strips
Fabric strips can be used in a wide range of creative projects. They can be incorporated into quilts, rugs, bags, and even clothing. Use fabric strips to create unique embellishments, such as flowers, bows, or braided trims. You can also weave them together to make colorful mats or coasters. Let your imagination run wild and explore the endless possibilities fabric strips offer.
Experimenting with Different Techniques
Once you've mastered the basics of making fabric strips, don't be afraid to experiment with different techniques. Try cutting strips of varying widths to add dimension to your projects. Mix and match different fabric patterns and colors for a vibrant and eclectic look. Consider using decorative scissors or pinking shears to create interesting edge finishes. The more you explore and try new techniques, the more unique and personalized your projects will become.
Conclusion
Making fabric strips is a simple yet rewarding process that opens up a world of creative possibilities. From choosing the right fabric to experimenting with different techniques, there are endless ways to incorporate fabric strips into your crafting projects. Whether you're a seasoned crafter or just starting out, this guide has provided you with the knowledge and inspiration to create beautiful fabric strips for all your DIY endeavors.